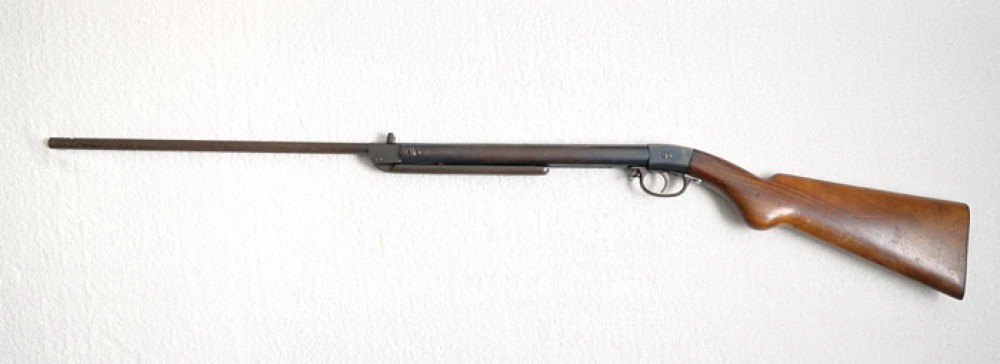
Today I’ll keep writing about how I made a replica of a Diana 27 sight.
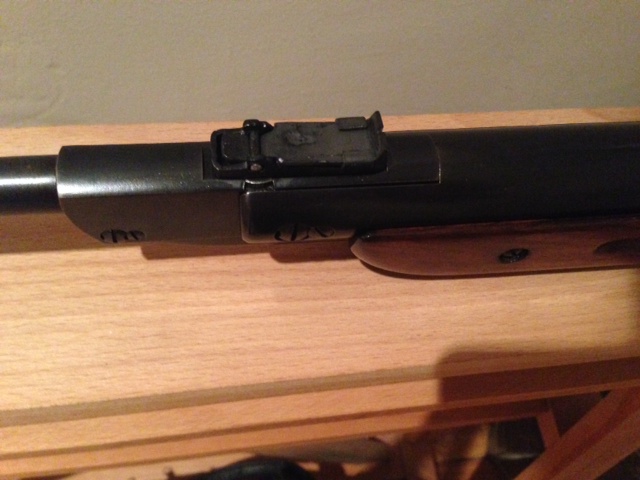
As you could see in my previous post, here, at this point I already have the rough shapes of all the parts of the rear sight.
They don’t look good and have too much material so now it’s a matter of cutting and grinding so I can get the parts close enough to the original.
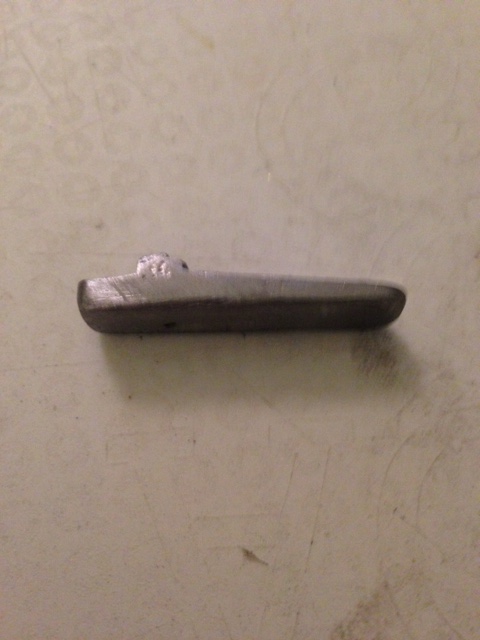
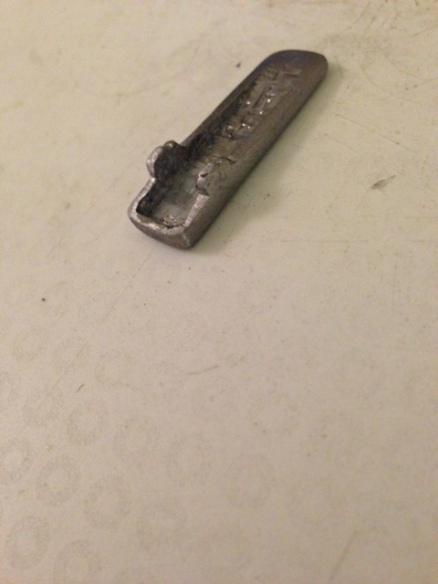
Here they are after a little bit of cutting:
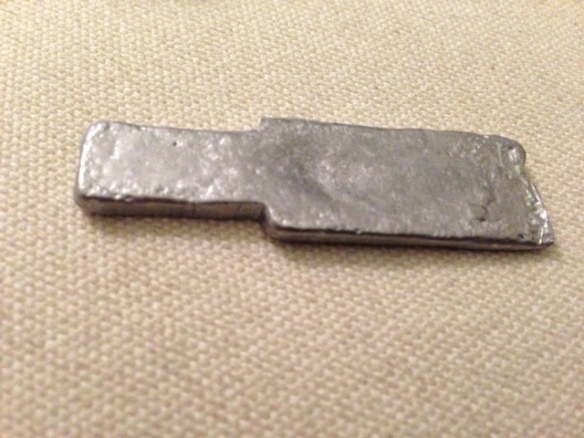
At this point all I’ve done was to trim the parts to a rough shape, taking out excess material. I’ve used a x-act knife and the carpenter’s tool I was talking about earlier.
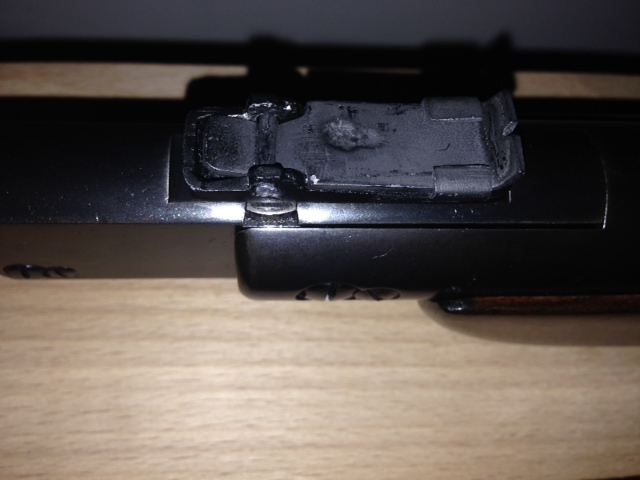
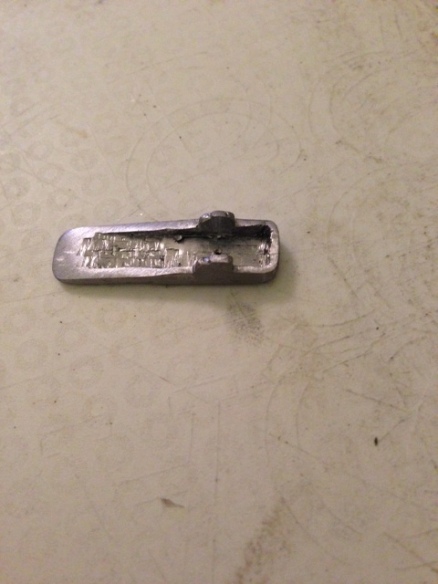
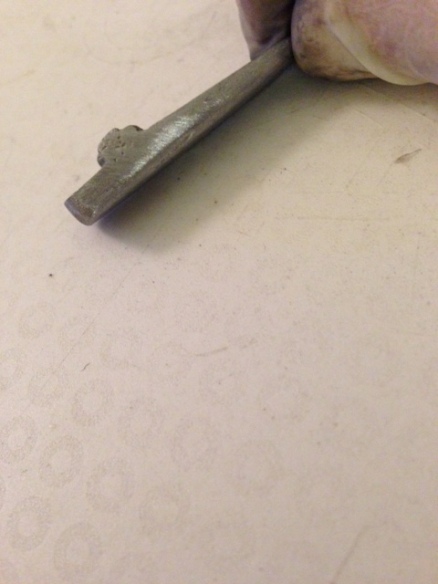
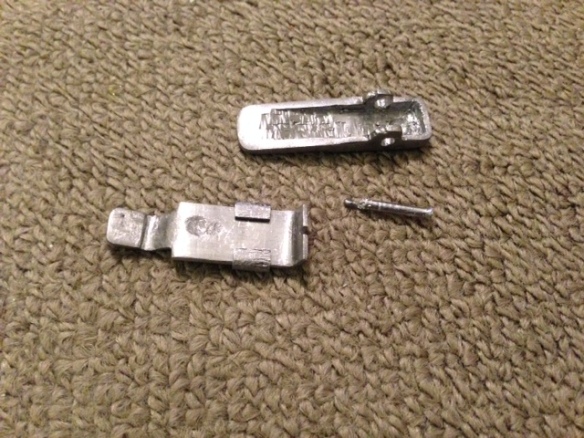
After a little more cutting, grinding and shaping:
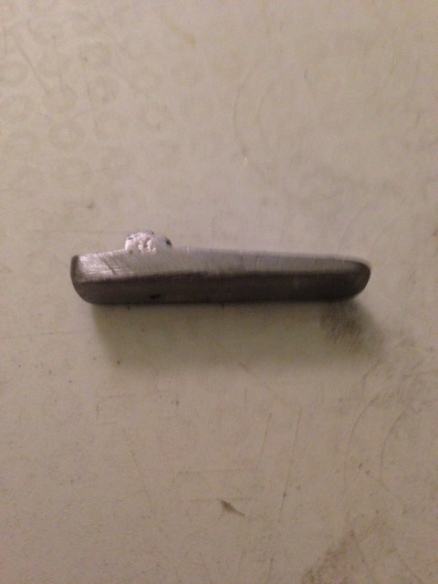
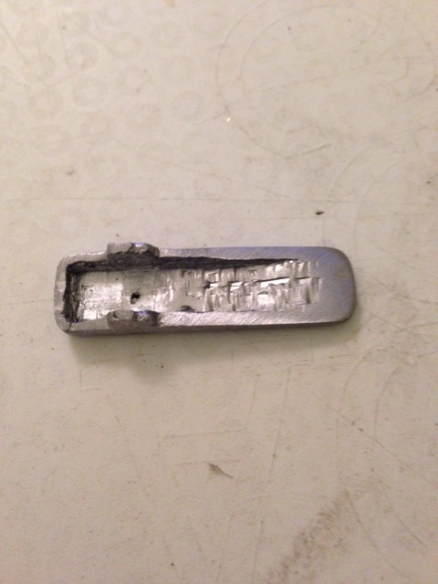
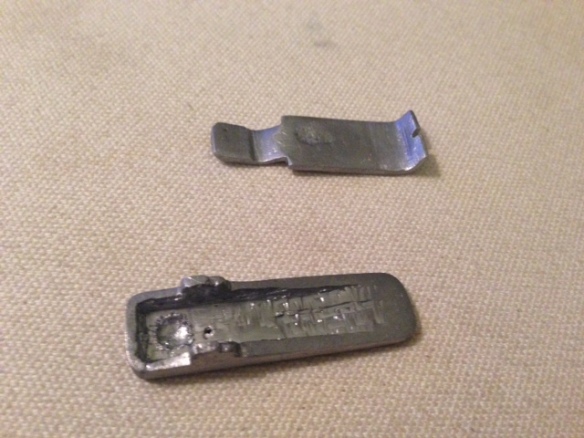
In the photos above I’m still missing the axel that will keep everything in place, as well as the bracket that will define the height of the sight.
You can see all these parts in the photo below:
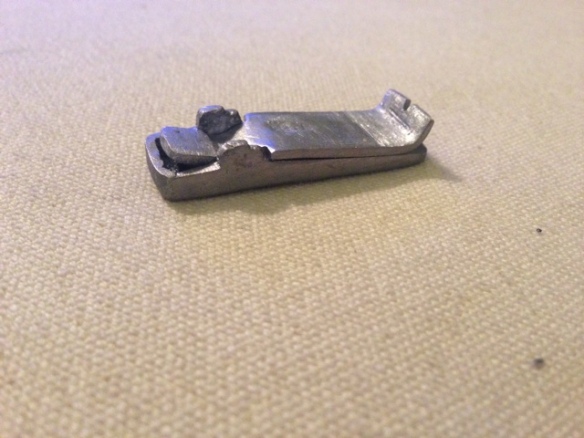
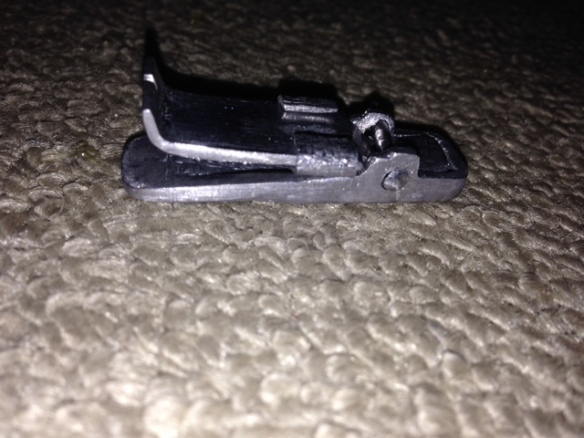
As you can see, it’s not perfect, but it was my first try. I think I’ll try to make another one, closer to the original, but for now this is it.
Here is a photo of the whole thing assembled.
I chose to paint it matt black so it doesn’t flare out so much when assembled on the rifle.
I know lead is not the best material in the world for this job, because it’s way too soft and plyable, but it’s the one I had at hand, and besides, I believe my father will have this gun more like a show piece than an everyday shooting rifle (even though he can shoot it as much as he wants because it’s fully functional now, with the new sight and all!).
I don’t have a photo of the sight already painted black. I’ll update this post as soon as I remember to take one!
Hop you’ve enjoyed it.