In this post I’ll cover the disassembly of the compressor assembly.
As usual you have to start by reading this.
What you’ll need:
- A workbench
- A comfortable seat
- A spring compressor (optional)
- A screw driver (any screw driver)
- A 4mm punch (or drillbit)
- A 3mm punch (or drillbit)
- Rubber gloves
You start by taking off the plastic end-cap where the safety lever protrudes trough. This will expose the trigger / safety mechanism.
To disassemble the compressor unit all you need to do is to take out the two pins that keep everything together.
You need to be carefull because it all has tension caused by the main spring and things may come out flying!
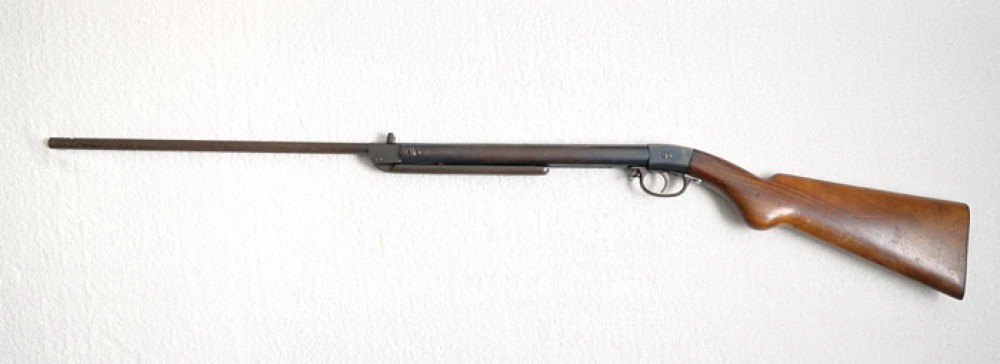
So, to start, after you’ve taken out the stock and disassembled the barrel, you’ll be left with the compressor assembly in you hand.
To pull it all apart, start by prying out the plastic bit in the back end of the compressor. There should be no hassle to take it out, just pull it and it will be out.
Now, the next step is to take out the two pins on the side of the barrel. These are not screwed in, they are kept in place by the tension on the main spring against the trigger mechanism.
Usually one should use a spring compressor but as I don’t have one, and as the spring on this gun is not that powerful, I’ll use the next best thing, a solid flat surface.
To take the pins out, press the trigger mechanism end of the compressor onto a solid flat surface and press down. You’ll be able to feel a bit of play in the entire assembly. That’s because, as I said before, the whole thing is kept in one piece by the tension of the main spring. This particular gun, because it has the safety catch in the end of the compressor tube, is a bit tricky. Don’t put pressure on the safety lever because you’ll destroy it!
The way to do it is to use the edge of the table in a way that the safety catch is not touching the surface.
Once you’re in position, press the compressor tube down on the table, and insert a drill bit through the forward most pin hole pusing it out on the other side. The drill bit should be smaller in diameter that the pin so it will be eazy to push trough take the drill back.
Then, do the same with the other pin. This is where it can go wrong. As everything is under a good amount of pressure, it will be harder to push trough, and if you let everything go, it will go, so once the second pin is out, take out the drill bit as well and relieve the pressure gently so nothing shoots out the compressor tube.
If you got this part right, you’ll see the trigger assembly sticking out (not completely) the compressor. You just need to pull it out completely (it’s an autonomous unit so it’s ok to take it out).
Next you need to take out the main spring and spring guide, that should come out pretty easily.
The piston is the only thing left inside the compressor tube, and you should be able to see it through the slot on the under part of the compressor. To take the piston out, use the smaller drill bit trought the slot on the compressor, and you’re done. All disassembled.
You’re now ready to start preparing the metal for blueing.
