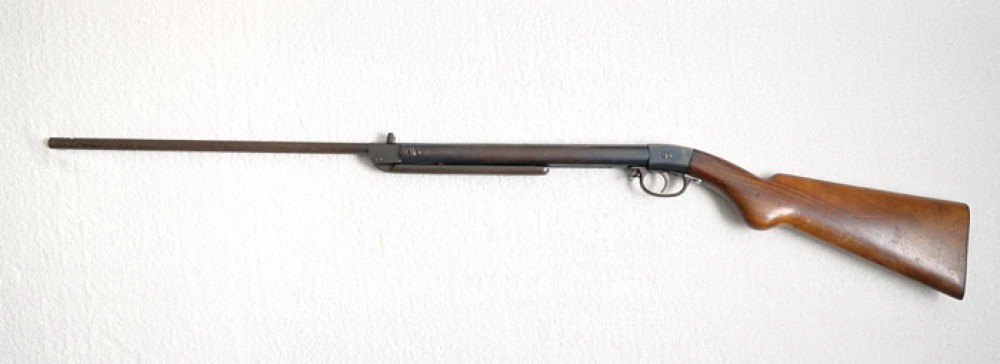
In this post I’ll go through the preparation for the blueing process of all the metal parts.
As usual, before reading the rest of the post, you must read this first!
As you all know, I’m not a certified professional, I do this at my own risk and I do not encourage anyone to do the same or follow my steps in any way. If you decide to do so you’ll also be doing it at your own risk!
With this out of the way, lets talk about the blueing preparation.
One more thing, the cold blueing process is not the same as the original hot blueing process, and the end result is not the same either! If you don’t like the way it turns out, you’ve been warned.
Also, this may cut down the value of the gun. Collectors often prefer old guns that have their original finish (even if it is ruined).
You’ll need:
- 320 grit sandpaper
- 500 grit sandpaper
- 1000 grit sandpaper
- power drill and nylon brush (not always necessary)
- mineral or silicon oil – multipurpose gun oil
- steel wool – the super fine kind
A quick note: on this gun I had no use for the power drill. I only included it in the material list so that you know that sometimes it’s needed. If the steel is rusted so far it’s not possible (or practical) to just sand it by hand.
Never use a wire brush because it will scar the metal beyond repair (not really, but you’ll need countless hours of manual sanding to get rid of the scaring and probably you’ll end up erasing all the markings on the gun which, if nothing else, is totally illegal).
I usually start with the piece that is in worst condition. The sandpaper I start with depends on the state of the metal. If it is very much rusted I start with 320 grit. If it is only a little rusted (not really deep) then I go straight to 500 or even 1000.
This should be made using a vice where you gently clamp the metal piece (using a rubber protection and not too much grip force so you don’t scar or warp the metal), but as I don’t have one I have to do with what I have in hand (my legs).
Cut a strip of sandpaper about 4cm wide and 10/15cm long. Put a generous amount of oil in the sandpaper and let it soak for a bit.
After the sandpaper has soaked a bit the oil, put some more oil in it and the metal part and start working on it. As most parts are round, just put the sandpaper around the part and pull it from one side to the other. It’s crucial you don’t spend too much time in the same place so you don’t scratch the metal.
Add oil as you go along. The objective is to keep everything soaked in oil at all times. This makes the process more gentile (well… as much as sanding can be gentile).
Never apply too much pressure, just enough that you start seeing the oil becoming rust colored. Wipe the piece often with paper towel (so no pieces of rust interfere with the process), put more oil, oil the sandpaper or change it, and keep going.
Go from the 320 grit to the 500 and the to the 1000. make sure everything is even and no scratches are detectable. Every single mistake you make now will be 100 times worst after blueing.
When you’re satisfied with the general smoothness of the pieces, use the steel wool to make all that steel really shiny. This is just the finishng touch really, but it makes a big difference in the end.
If you decide to stop mid process (as you probably will), leave everything in place with a really nice coat of oil. Once you’ve started the steel is completely unprotected because all the rust or traces of the original blue will be gone. If you fail to do this (sometimes even for a few minutes, depending where you live) when you get back at it the pieces will be covered in rust, again…
The entire process is extremely time consuming. To leave it perfect, and depending on the amount and how deep the rust goes, it can take you up to 8 or 10 hours of sanding.
This particular project took me about 5 hours to complete this stage.
Trust me, it is well worth the effort. This is the most critical step of the entire process.
After the steel wool, you’re all set to start blueing the metal!
I can’t find the footage of this particular process anywhere, that’s why there are no photos, but if I find them, I’ll update the post.
The process is exactly the same as you can see here or here, and these have photos so check them out!
